Refresh the exterior of the house is one of the easiest and yet most effective ways for home improvement. The first days of the autumn are a truly appealing moment for such an adventure, thanks to the good weather and the sunshine that enhances the drying of the paint. The moderate air temperature ensures a flawless effect, because it can`t neither shrink in the coldest winter days, nor expand during the hottest days in the summer. Pick up at least one full weekend for the outdoor painting. There are so much things to do and to follow a specific order that even one full weekend might be insufficient to paint a big two- or three-storey house.
How to Improve Your House with New Outdoor Painting
Do some cleaning prior to the painting.
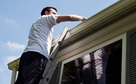
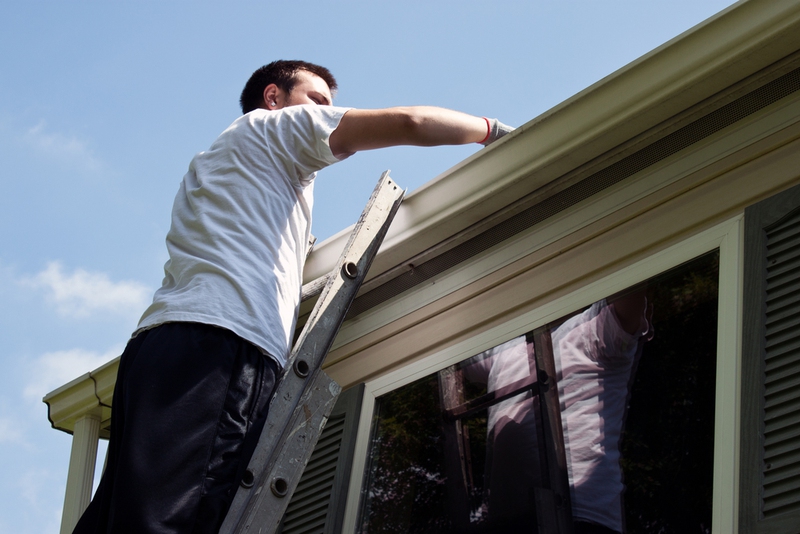
Inspect and prepare all the surfaces for a further treatment, and the best way to do it is by getting rid of dirt, molds, fallen leaves, branches and other blemishes. Inspect the roof for debris and other objects, and do some repairs if needed. Check out the condition of the chimneys and the vents, as well as walls. Remove all the damaged areas of the old paint by scrubbing with a special spatula and brush. It all depends on the specific surface of the walls, as well as type of the new paint. Call a builders cleaning company in advance to discuss all the details about the disposal of waste and debris. It is recommended to do all the steps about the cleaning in the first day of the weekend and to go on the next step - the painting itself, on the next day. You want to eliminate all dust and dirt, so let the clean surfaces to overnight and dry naturally.
Protect all the windows, stairways, gutters and other areas that you don`t want to paint.
Use simple tapes with nylon sheets. Do this also prior to painting, which will ensure that the screens will stay on their place with no displaced or loosed edges. You don`t want to deal with windows cleaning and removal of dried paints on the glass, which often requires the help of the professional cleaners. The thorough masking of the windows and everything else will take much more time than the painting itself, but it`s definitely worth it. Don`t rush and take your free time to mask every corner and edge with straight lines. Use guiders or support structures, and prepare yourself to spend at least one full morning only for masking. Then, clean all the waste materials from the masking and make a final inspection of the cleanliness of the adjacent areas in order to reduce the chance of spreading out dust and dirt while painting.

Prime the surfaces by using a professional primer for exterior paints.
They have some special qualities according to the usual interior paints, as well as are the key for better results.
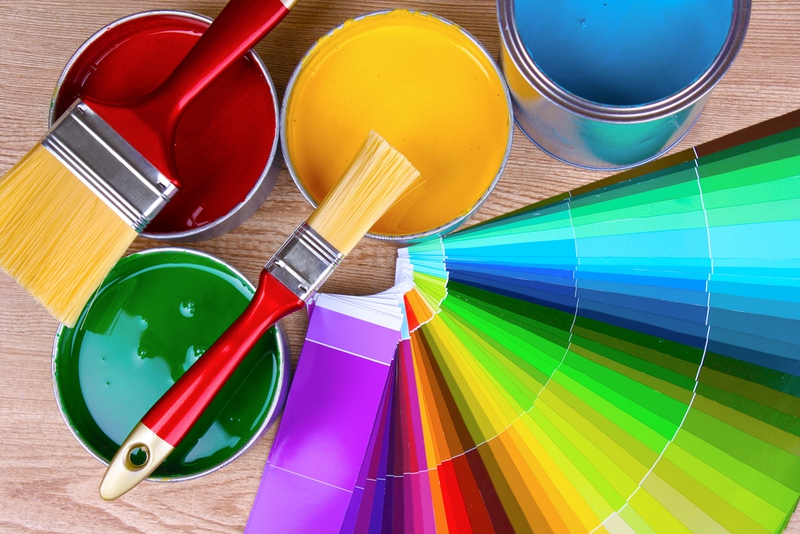
Paint the exterior.
Don`t forget to wear a mask and protective gloves because the paints have volatile chemical compounds. Make sure that the wind is as less as possible, which will reduce even more the chance of contaminating the freshly painted surfaces with dirt and dust. Begin from the objects on the rooftop and the upper areas of the walls, then, finish with the lower ones. A great idea is to use only one color if you want to escape from changing tapes and nylon sheets for masking between the different colors.

- 1.
View All Comments /Add Comment