

We all have our own ways of applying foundation, and if you’re over the age of thirty who barely knows anything about makeup, there’s a 90% chance you just use your fingers to apply your foundation, just like you would apply a cream on your face. And while there’s nothing wrong in that, why not opt for an alternative that gives you better results with lesser amount of effort? I can understand how overwhelming it can be, seeing the sheer varieties of makeup application tools that are available in the market right now. But don’t you worry – I’ve got your back!
How to Apply Foundation
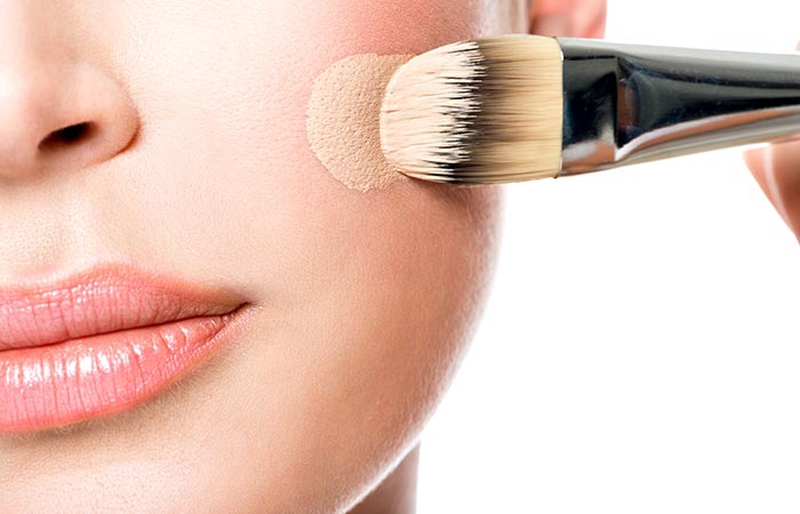
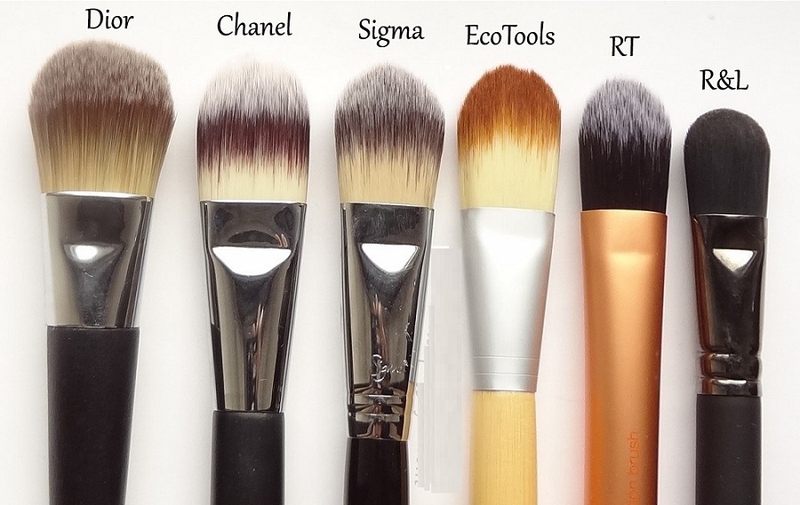
Paddle brush
This is one of the most popular brushes for applying foundation. It’s flat in shape, slightly thick, and depending on the area of the face you want to apply foundation to like cheeks or the inner corners of your nose, you can use a big or a small brush. It’s always used for liquid foundation.
Begin by applying a few dots of liquid foundation all over your face. With the brush, make short, sweeping motions with it to spread the foundation. Make sure your strokes aren’t all in one direction or you might end up with a streaky face. You can try criss-cross strokes.
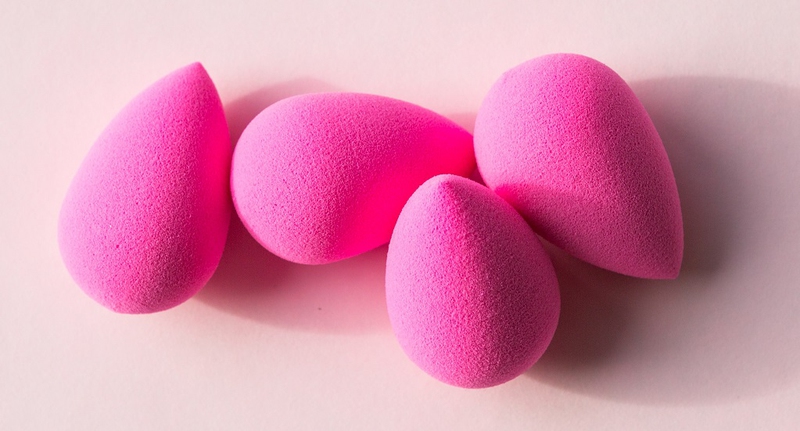
Beauty blender
Ah, now if you’re even a little bit into makeup, then you’re already aware of this egg shaped sponge. Available in many colors and size, this is one item used by amateurs and professionals alike – because not only does it give an unparalleled blended look, but also pushes your foundation into the skin, thus making it last a longer period of time.
It’s best used for liquid foundations, and you begin by applying little dots of foundation on your face. Then, use a spray bottle to spray some water on your blender to dampen it, which will help blend the foundation easier. Then, using your sponge, go in and dab the foundation gently in small circular motions all over your face.
But be careful – a sponge absorbs a lot of product so if you use expensive foundation and want to save as much of it as you can, then shift to a brush. They are also a little tough to clean, and need to be replaced every 3 months or so, or bacteria start thriving in it. You can always purchase $1 dupes off eBay – they work just as well as the real deal, and you can change yours every month.
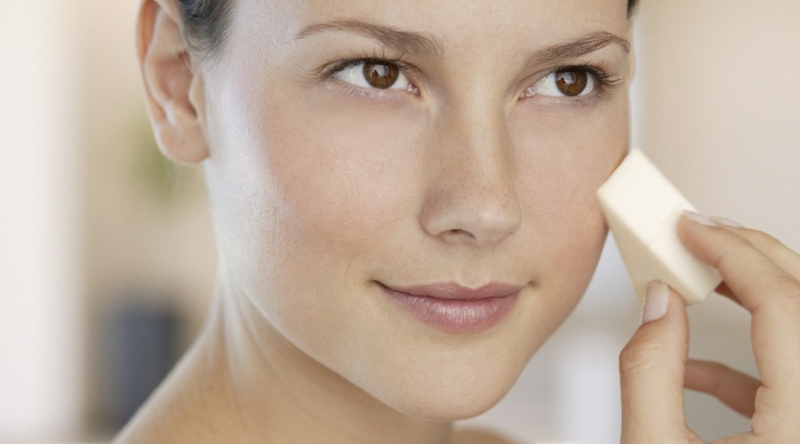
Wedge sponges
When it comes to how to apply foundation, know that wedge sponges are exactly like the beauty blender, only, much cheaper. Their sharp edges do make blending foundation on your face difficult, so you can use them just for special areas like the under eyes and nose, or you can blend foundation on your entire face if you want. Like the beauty blender, you need to dampen it first before using it and use dabbing motions to spread your foundation.
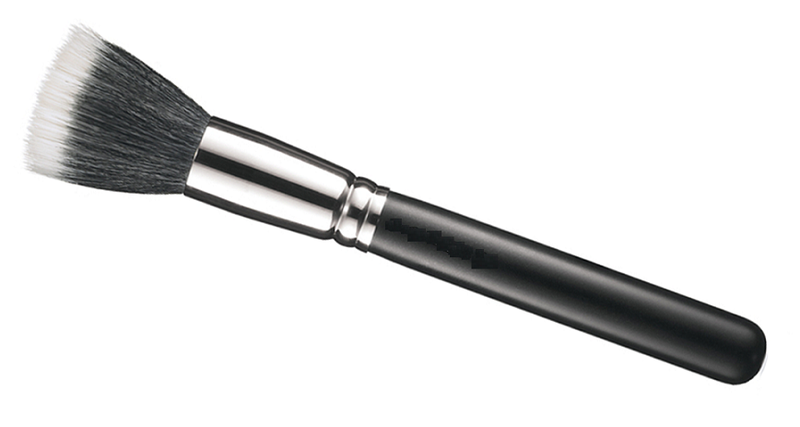
Stippling brush
This one’s another favorite of makeup artists. You use it exactly the way you’d use a paddle brush. But instead of short sweeping motions, you go across on your face with light dabbing and circular motions. Irrespective of which brand of foundation you’re using, a stippling brush will end up giving your face an air brushed look.
Remember that when you’re using your brush, only the top half i.e. the white bristles should be moving. If the entire length of the bristles is moving, then it means you’re going in way too strongly.
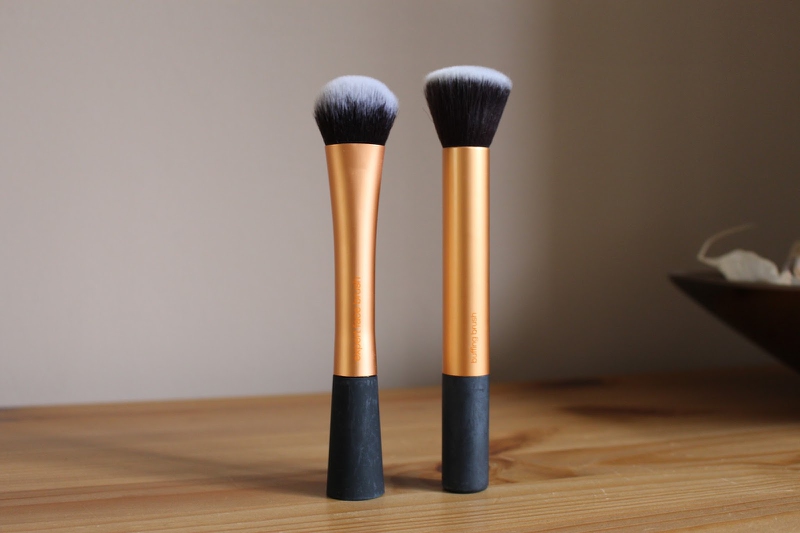
Buffing Brush
It’s similar to appearance in a stippling brush, but it’s used mostly to give your foundation a "final" look after you’re done stippling your foundation. Sure, you can use it just to apply your foundation as well. And in that case, use it exactly like a stippling brush. If you’re an amateur, you can stick with either a stippling or buffing brush – both give you almost the exact finish when you’re working on how to apply foundation.
Oval brushes
These are simple improvements upon makeup brushes, if I’m being honest. There really isn’t much of a difference between, say, a paddle brush and an oval brush. They’re used mostly for their novelty. Of course, this doesn’t mean they’re bad – they’re actually quite good and it all depends on your personal preferences as to which brush you should use. You can use it exactly like a paddle brush, and opt for circular motions on your face.
Cream products like highlighter, concealer, foundation and primers are also excellent to be applied by oval brushes! The original (Artis) and the dupe (eBay) give you the exact result, so honestly, there’s no point in spending your hard earned money on the originals, especially seeing how freaking expensive they are!
Here’s a guide on how to use the entire set of oval brushes, in case you are thinking of buying them:
Tips on Having a Flawless Application
Apart from the tools you use, there are several other things to keep in mind when you’re deciding on how to apply foundation:
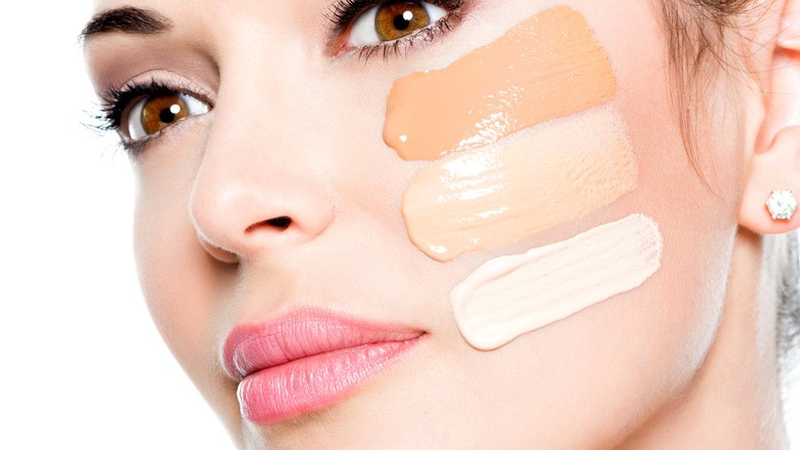
Always get the right foundation shade, because the wrong one can make you look instantly older or cakey, and no amount of expensive tools or blending will help your case.
Blend your foundation on your ears, neck, back of the neck and your chest too if you’re keeping that area exposed.
Always check your foundation in a natural source of light – that will tell you exactly how you look without bulb or tubelight lighting.
Select a foundation formula best suited for your skin type.
For a dewy glow, apply your highlighter in high amounts on your face and then apply the foundation, especially if you’re using a full coverage foundation.
View All Comments /Add Comment